This post contains affiliate links, which means I make a small commission at no extra cost to you. See my full disclosure here.
Ok, ok, that was a bit misleading, you don’t usually bake your sourdough starter, you bake ‘with’ your sourdough starter. But it was effective in getting your attention! Welcome and congrats on taking the big step into wanting to learn about sourdough and how to make your own sourdough starter. In this article I will go through the whole process of Sourdough Starter – Make it, Maintain it, Bake it (or bake WITH it)
Formalities
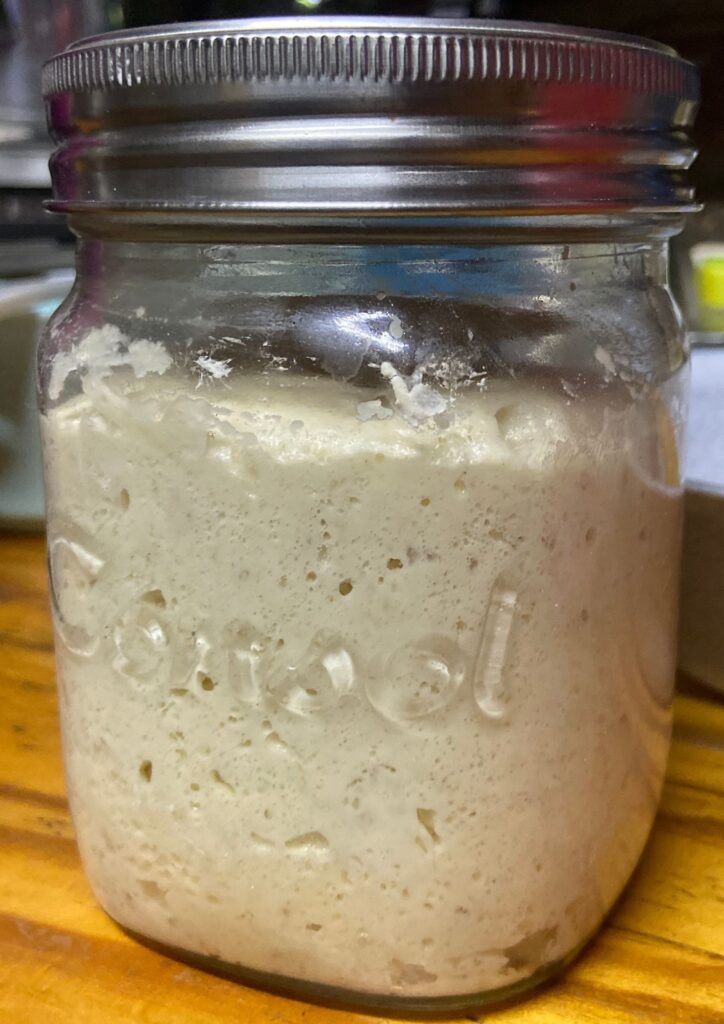
Meet Bubbles. This is my Sourdough Starter and he is about 4 years old at the time that I am writing this post. We have been through a lot in these past 4 years. Good times and bad times. Times where I thought I killed him, times where I was so proud to produce the most beautiful loaves I have ever seen, I did not want to cut it! And there was times where I thought I accidentally used up ALL my starter (and have no back-up). Times (more than I would like to admit) when I produced such bad loaves and how I ALMOST threw in the towel.
Is it really worth it?
More than anything, every time I take a bite into something I baked with my sourdough starter, no matter how aesthetically pleasing it came out, or not. I am so grateful I started on this journey and keep pushing through the ‘failures’. Someone very wise once said: What is important is the journey, not the destination. The whole sourdough process reinforces that. But man, when you bite into a well baked bread, that crunches and melts in your mouth at the same time, the destination is fantastic!
All this to say
This process of learning about a Sourdough Starter – Make it, Maintain it, Bake it. Is well worth your time and effort.
- Every day.
- Every bake.
- Every ‘fail’.
- Every triumph!
I hope and believe that this article will give you the jump-start and final push that you are looking for.
Things you will learn in this journey of a Sourdough Starter – Make it, Maintain it, Bake it
- How to make your sourdough starter – step by step.
- How to care for and maintain your sourdough starter.
- How and when to start baking with it.
- Your first recipes.
- Patience
- Perseverance
- Humility
- Sharing (when you have more bread experiments than you can eat by yourself)
- Math
- Biology
- Science
- Get to know new people
- Building a community
- This journey never ends
What is a Sourdough Starter?
Flour, water, wild yeast and lactic acid bacteria.
A sourdough starter is a live culture of wild yeast and friendly bacteria that live in symbiosis. It’s food is starch and sugar(flour). It will digest the starch, ferment the sugars, break down the gluten and then excrete carbon dioxide which in turn leavens bread and makes it rise.
Why is Sourdough considered to be so healthy?
Sourdough is considered healthy because of a few reasons.
- Firstly you would usually use a good quality, unbleached and even stone ground flour. Always a good place to start as there are much more nutrients available in such flour compared to the common bleached and sterilised flour from the shops.
- Then after mixing and during the long fermentation process the sourdough consumes the starches and gluten inside the dough. Which makes an end product with much less gluten than its non-sourdough counterpart. In so much as that some diabetics and gluten sensitive individuals can eat sourdough products without a health concern.
- The starter also breaks down the phytic acid in the flour and thus makes the nutrients more available and easier to digest.
- Sourdough baked goods are also considered low GI.
- Blood sugar does not spike as much when eating sourdough.
When can I start baking with my Sourdough Starter?
In the first few days the micro-organisms are fighting for ‘survival of the fittest’, there will be good and bad bacteria present during this time.
From about day 10 the organisms will start to stabilise and the wild yeast and beneficial bacteria will get stronger and stronger, while most of the other types of bacteria will disappear.
The starter will usually not be strong enough to leaven bread by now, but is safe to use in discard recipes or in combination with bakers yeast just to give you a feel of working with sourdough.
From about day 30 you can bake your first 100% sourdough leavened bread. Keep in mind that your starter is still very young and will sometimes ‘act out’ and won’t be as predictable as a mature starter. So give it some time, be patient, bake often and practice all the other skills accompanied with sourdough without focusing too much on the result for now.
- Sourdough terminology
- Stretching and folding
- Coil folding
- Dough hydration
- Reading the dough, not the clock
- Dividing
- Shaping techniques
- Different types of baked goods like, breads, enriched breads, muffins, cookies.
Sourdough Starter – Make it, Maintain it, Bake it
Commit yourself for 10 days to follow the process without expecting anything. After 10 days you can start baking discard recipes. After 30 days you can bake your first bread!
You want to feed the same amount in weight of flour to starter that you have, that is why you discard 50g the first day and then 100g every day so you do not end up with a huge monster in your kitchen!
With this method you only have 150g starter at the most during the whole process.
INGREDIENTS
- Unbleached Flour (rye flour if possible)
- Non-chlorinated water
INSTRUCTIONS
- Day 1: Combine 50g flour and 50g water in a glass bottle. Stir well.
- Cover and let sit at room temperature for 24 hours.
- Day 2: Remove 50g and discard.
- Add 50g flour and 50g water. Stir well and cover.
- Day 3: Remove 100g and discard.
- Add 50g flour and 50g water. Stir well and cover.
- Day 4: Remove 100g and discard.
- Add 50g flour and 50g water. Stir well and cover.
- Day 5: Remove 100g and discard.
- Add 50g flour and 50g water. Stir well and cover.
- Day 6: Remove 100g and discard.
- Add 50g flour and 50g water. Stir well and cover.
- Day 7: Remove 100g and discard.
- Add 50g flour and 50g water. Stir well and cover.
- Day 8: Remove 100g and discard.
- Add 50g flour and 50g water. Stir well and cover.
- Day 9: Remove 100g and discard.
- Add 50g flour and 50g water. Stir well and cover.
- Day 10: Remove 100g and discard.
- Add 50g flour and 50g water. Stir well and cover.
From now on you can add your discard into a separate glass jar with a lid and leave in the fridge until it is enough to use in your first discard recipe.
Sourdough Starter
Ingredients
- Unbleached Flour (rye flour if possible)
- Non-chlorinated water
Instructions
- Combine 50g flour and 50g water in a glass bottle. Stir well.
- Cover and let sit at room temperature for 24 hours.
- Remove 50g
Here are some discard recipe ideas to try once you hit Day 10!
Pancakes
Ingredients
330g Flour
125g Sugar
8g (2tsp) Baking powder
2g (1/2tap) Baking soda
5g Salt
250g Milk
2 Eggs
30g melted Butter/Oil
50g Starter
Method
- Beat eggs until well mixed
- Add starter and milk and mix well.
- Add flour, sugar, salt, baking powder and baking soda. Mix well.
- Heat a frying pan to medium heat.
- Spray with non-stick and fry batter in batches of 3-4 with 1/4 cup batter per flap jack.
- Serve with butter and golden syrup.
Blueberry Muffins
You can make this with lightly cooked apple pieces too for a delicious apple muffin!
Ingredients:
Dry
325g Flour
200g Sugar
8g (2tsp) Baking powder
2g (1/2tap) Baking soda
5g Salt
2g Cinnamon
Wet
2 Eggs
200g Milk
85g Starter
5g Vanilla
120g Blueberries (frozen or fresh)
Method
- Mix dry ingredients in a bowl.
- In a separate bowl beat eggs until well mixed.
- Add all the wet ingredients and mix well.
- Add blueberries and gently fold into mix.
- .Prepare muffin tray with paper cups and spray them with non-stick spray.
- Scoop and divide batter evenly into prepared muffin cups.
- Bake at 175°C. 30min for jumbo muffins.
- 18-20min for regular size muffins.
HEALTHY SOURDOUGH CHOCOLATE CHIP COOKIES WITH OATS AND COCONUT (Instant version)
INGREDIENTS FOR HEALTHY SOURDOUGH CHOCOLATE CHIP COOKIES WITH OATS AND COCONUT
- 330g Stoneground Unbleached White Bread Flour
- 400g Coconut Sugar
- 225g Butter
- 2 Eggs
- 15g Salt
- 8g (2tsp) Baking powder
- 2g (1/2tsp) Baking soda
- 150g Sourdough Starter
- 15g Vanilla
- 300g Roughly chopped Dark Chocolate (or chocolate of choice)
- 100g Soaked and drained oats
- 100g Desiccated Coconut
METHOD FOR HEALTHY SOURDOUGH CHOCOLATE CHIP COOKIES WITH OATS AND COCONUT
- Beat the eggs until well mixed.
- Add sugar, starter, vanilla and melted cooled butter.
- Mix wellAdd flour and salt.
- Mix gently until just incorporated. Do not over mix as this can make the cookies tough.
- Add roughly chopped chocolate, oats and coconut.
- Mix gently until just incorporated.
- Refrigerate for 1 hour.
- To bake. Heat oven to 200°C.
- Once oven is at the right temperature, bake for 15-20min, depending on the size of the cookies. The edges must be brown but the middle still soft.
- Do not over bake.
- Let cool in the pan for 10min before transferring to a cooling rack and cool completely.
- Enjoy with milk or your favourite drink, hot or cold!
DAY 30! Feeding and maintaining your new sourdough starter
Congratulations!!! You persevered!
Now you are ready to try all sourdough recipes like my Easy everyday sourdough bread – with a secret, or long ferment Sourdough Chocolate Chip Cookies with Oats and Coconut. Or try an enriched dough recipe like my Sourdough Sweet Dinner Rolls
You can also start to put your starter in the fridge for short periods, if you know you can not get to feeding it for a day or so. But remember, it can only become mature if used and fed, so try to do this as little as possible, at least for the first 6 months.
Feeding your starter can continue on this same schedule, or you can start to play around with feeding ratios and times. You most likely have seen your starter rise and fall. When it starts to fall it means it has eaten all the food there was to eat and is starting to starve, this is a good time to feed again. So now you can go more by how your starter behaves. If it starts to fall sooner than every 24 hours, you can either 1) feed it sooner, 2) discard more and keep a smaller starter, feeding it the same amount, 3) or you can put it in the fridge about 2 hours after you fed it. The fridge will slow down the activity and rate the starter is feeding, but be sure to keep an eye on it to see when it gets hungry again.
From 6 months on it is a very good idea to start keeping a back-up starter in the back of your fridge. Just put 50g in a glass jar, close it tightly and mark it Sourdough Starter Back-up and with the date. Update your back-up starter every 6 months.
You will be glad you had a back-up!
Signs to look out for
- When you see orange or pink on top of your starter it is best to chuck it. You do not want to toy with cultivating bad bacteria in your kitchen and certainly not in your food!
- If you see a black liquid on your starter, that is called hooch. It is not harmful it is just a sign that your sourdough starter is starving and need food!
May you enjoy this new journey very much, it is very rewarding when you persevere!
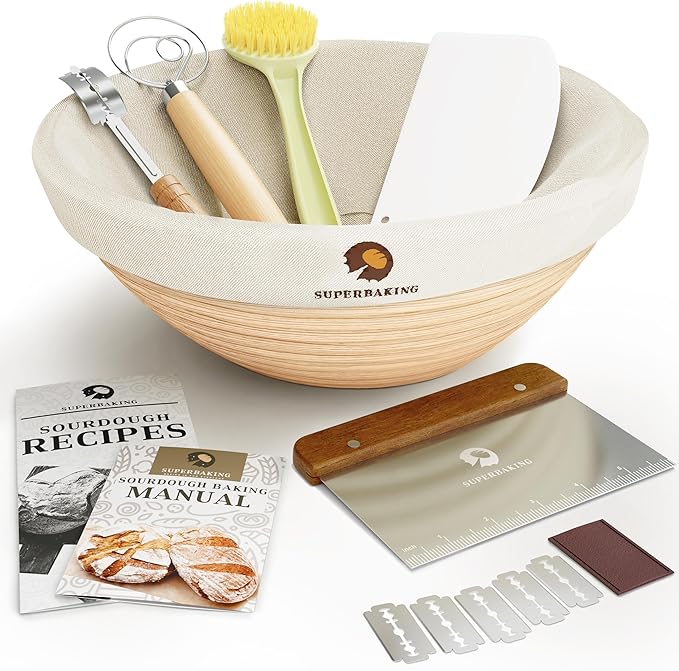
My favourite Sourdough gadgets
Cast iron dutch oven

Sourdough kit
Kitchen scale
One Response