This post contains affiliate links, which means I make a small commission at no extra cost to you. See my full disclosure here.

Yogurt is not only a delicious and versatile food, but it also has so many health benefits, particularly due to its rich content of probiotics. These beneficial bacteria support gut health, boost the immune system, and can even enhance digestion. Making your own homemade yogurt is surprisingly simple and allows you to control the ingredients, ensuring a fresh and tasty product. In this blog post, we’ll walk you through an easy recipe for making delicious and probiotic-rich homemade yogurt.
Understanding Probiotics
Before diving into the recipe, it’s essential to understand what probiotics are and their benefits. Probiotics are live microorganisms that live in our intestines and when eating and drinking probiotic rich foods this ensures that we keep a healthy balance in our microbiome. These microorganisms are often referred to as “good” or “friendly” bacteria and are essential for maintaining a balanced gut microbiome.
Some benefits of probiotics include:
- Improved Digestion: Probiotics can help break down food and absorb nutrients efficiently.
- Enhanced Immune Function: A healthy gut microbiome supports the immune system and helps fend off illnesses.
- Mental Health Benefits: Recent research suggests a link between gut health and mental well-being, indicating that probiotics might help alleviate symptoms of anxiety and depression.
- Weight Management: Some studies have shown that probiotics can aid in weight loss and help maintain a healthy weight.
Why Make Yogurt at Home?
Making yogurt at home allows you to customize flavors and sweetness levels while eliminating preservatives and additives often found in store-bought varieties. Additionally, homemade yogurt is usually fresher, and you can choose high-quality milk for a superior product. Plus, the satisfaction of creating something delicious from scratch is unbeatable.
Ingredients You’ll Need
To make homemade yogurt, you’ll need the following ingredients:
- Milk: You can use whole, low-fat, or non-fat milk based on your preference. For creamier yogurt, whole milk is recommended.
- Yogurt Starter Culture: You can use a store-bought plain yogurt with live active cultures or a powdered yogurt starter. Ensure it contains probiotics.
- Optional Flavorings: Honey, vanilla extract, fresh fruits, or spices like cinnamon can be added for flavor after the yogurt has set.
Equipment Required
You will need some basic kitchen equipment:
- A heavy-bottomed pot for heating the milk
- A thermometer to monitor the milk temperature (Tips if you do not have a thermometer below)
- A whisk or spoon for stirring
- A measuring cup
- A container with a lid to store the yogurt (preferably glass)
- A warm environment for incubation ( a cooler with a blanket works great)
Step-by-Step Guide to Making Homemade Yogurt
Now that you have your ingredients and equipment ready, let’s get started with the yogurt-making process!
1: Heat the Milk
- Pour 4 cups of milk into a heavy-bottomed pot.
- Heat the milk over low heat until it boils over…I mean… until it reaches about 82°C (180°F). (I constantly forget about my milk on the stove, so just know if your milk boils over, you can still make delicious yogurt)This step is crucial as it kills any unwanted bacteria and denatures the proteins, leading to a smoother yogurt. If you do not have a thermometer, just check the milk when it starts to boil around the edge.
- Once the milk reaches the desired temperature, remove it from the heat and let it cool down to about 43°C (110°F). Putting the pot in the sink with cold water will speed up the cooling process. If you do not have a thermometer, stir the milk and insert a clean finger. If you can keep your finger in the milk comfortably without it feeling cold, your milk is ready.
2: Add the Yogurt Starter
- In a small bowl, mix 2-3 tablespoons of your chosen yogurt (the starter culture) with a small amount of the cooled milk to create a smooth mixture.
- Once the milk has cooled to 43°C, gently whisk this mixture back into the pot of milk. This introduces the live cultures into the milk.
3: Incubate the Yogurt
- Pour the milk mixture into your container and cover it with a lid.
- Place the container in a warm environment to incubate for 6-12 hours. The ideal temperature for yogurt fermentation is around 43°C.
- Put the container in a cooler with another container filled with hot water and wrap towels around it to maintain warmth.
- The longer the yogurt incubates, the tangier it will become. Check it after 6 hours, and if it’s not thickened to your liking, let it sit longer.
4: Check for Doneness
- After the incubation period, check the yogurt. It should be thickened and have a tangy flavor. If it hasn’t set, give it a few more hours.
- Once ready, remove the yogurt from the warm environment and transfer it to the refrigerator. Cooling it will stop the fermentation process.
- Step 5: Enjoy Your Homemade Yogurt
- Your homemade yogurt can be consumed plain or flavored. Add honey, fruits, or granola for a delightful treat!
- Remember to save a few tablespoons of your homemade yogurt to use as a starter for your next batch.
Tips for Perfect Yogurt
Choose Quality Ingredients: The quality of your milk and starter culture will significantly impact the taste of your yogurt. Opt for organic or high-quality milk and a yogurt starter with live cultures.
Maintain a Consistent Temperature: Keeping the yogurt at a steady warm temperature during incubation is crucial for proper fermentation.
Experiment with Flavors: Once you’re comfortable with the basic recipe, feel free to experiment by adding different flavors or toppings to your yogurt.
Storage and Shelf Life
Homemade yogurt can be stored in the refrigerator for up to two weeks. Make sure to keep it in an airtight container to maintain freshness. If you notice any separation, it’s normal; simply stir it back together before serving.
Conclusion
Making your own probiotic-rich yogurt at home is a rewarding and straightforward process. Not only do you get to enjoy a delicious and healthy treat, but you also gain the satisfaction of creating it from scratch. With just a few simple ingredients and some patience, you can craft yogurt tailored to your taste preferences. So why not give it a try?
Your gut will thank you!
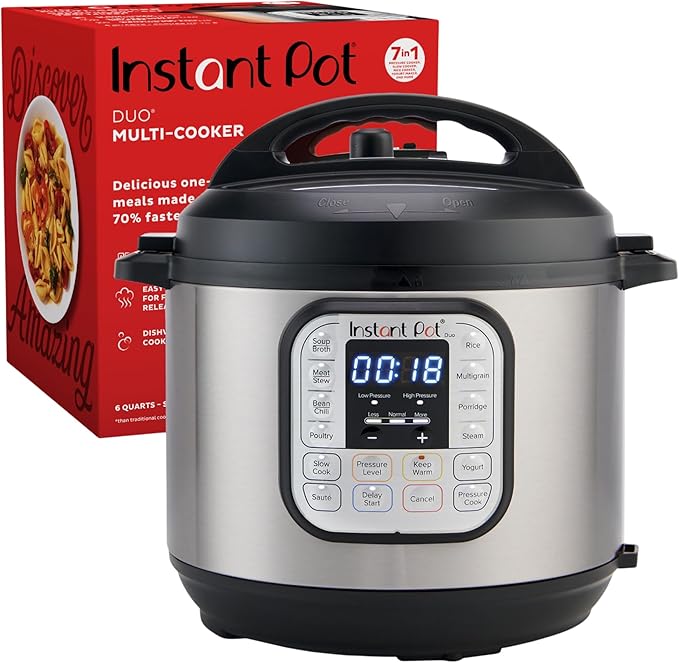
My favourite kitchen gadgets
Amazon


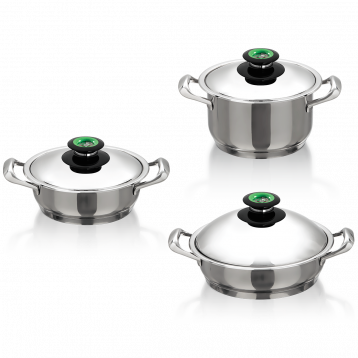
My fellow South Africans

More Healthy Homemade Recipes
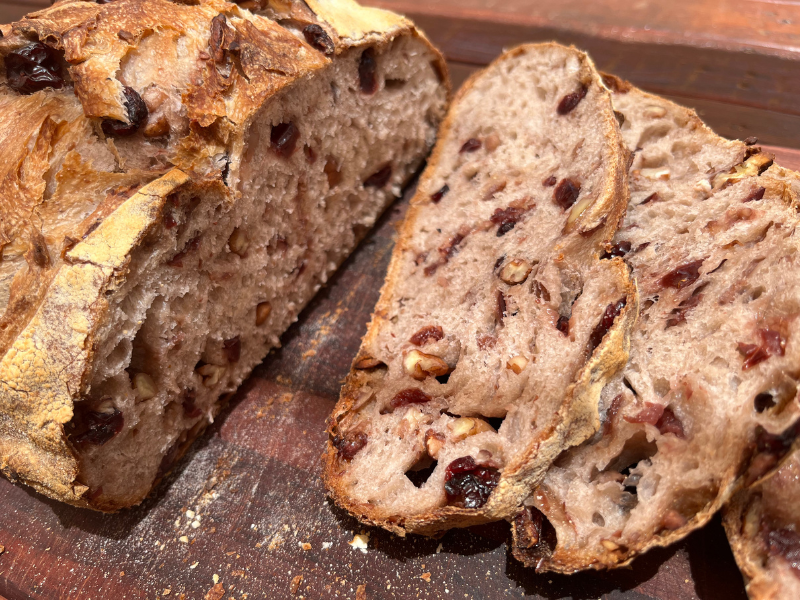
Cranberry and Pecan Sourdough Bread for the best treat ever
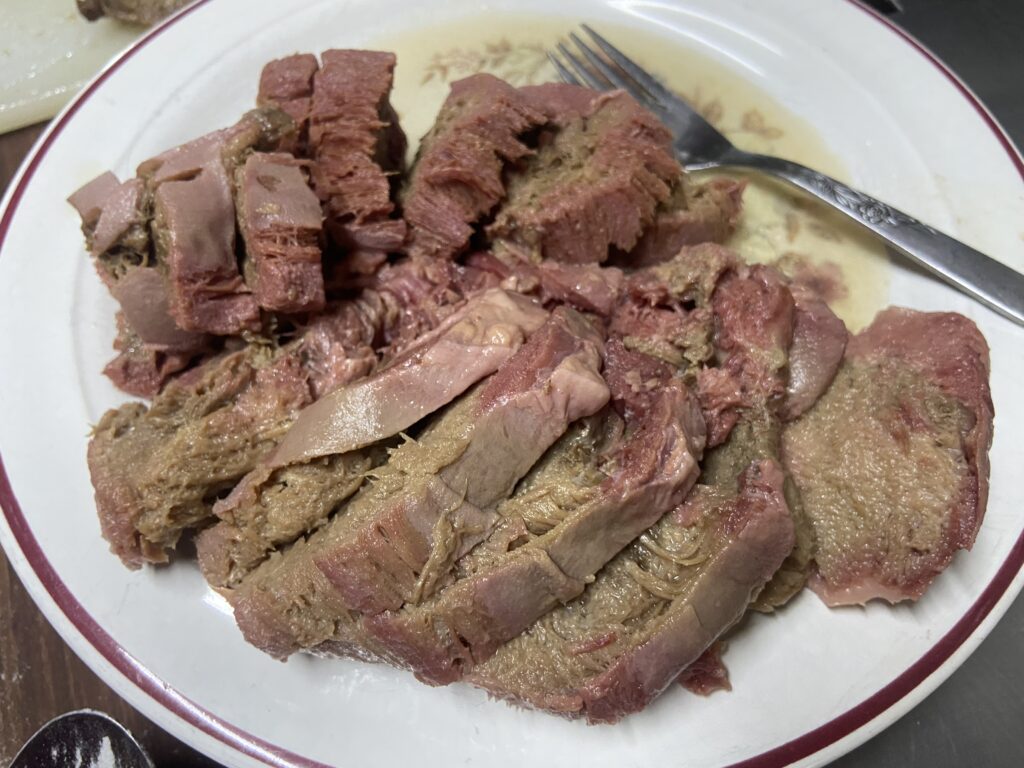
How to cook beef tongue in a pressure cooker