This post contains affiliate links, which means I make a small commission at no extra cost to you. See my full disclosure here.
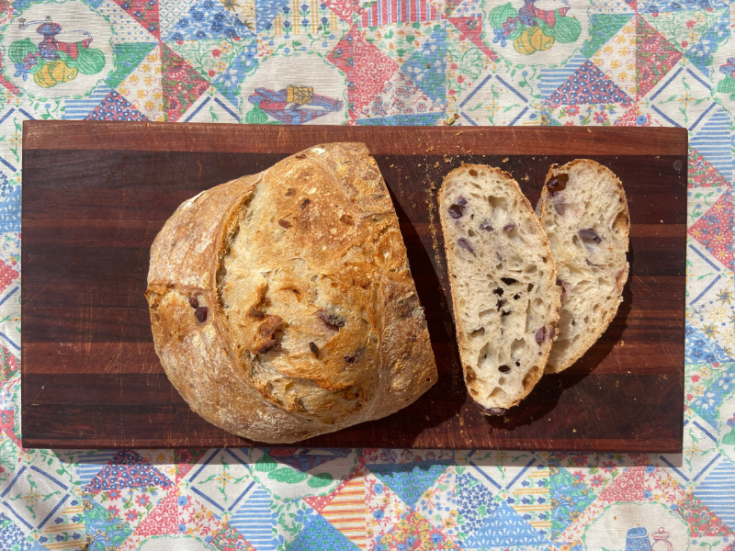
Sourdough Olive, Roasted Garlic and Rosemary Bread. Need I say any more? An out of this world experience in different inclusion flavours and textures of Sourdough, complimenting each other beautifully. You will come back to this inclusion combination for your sourdough again and again.

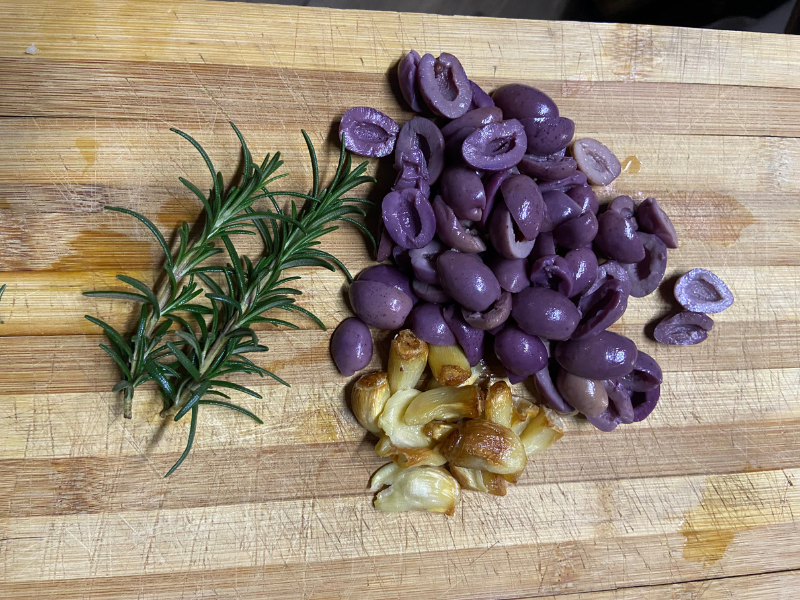
Preparing Inclusions For Sourdough Olive, Roasted Garlic and Rosemary Bread
Summary
You want to prepare the inclusions well in advance so it does not catch you by surprise when it is time to add the them into your dough. You can even prep them the night before and keep in the fridge, ready to go when you need them.
Roast the garlic and let them cool before removing the skins. Any excess oil can be saved to cook with later.
Pick, wash and cut the rosemary as small as possible. You also do not want to add the bark from the stems, only soft parts that you can break with your fingers.
Lastly, pit and cut the olives roughly, it does not have to be puree, it actually is very nice to have a bite of a larger piece of olive in the final bread.
Olives
- Make sure to use a good quality olive. I believe the end result can only be as good as the individual ingredients by themselves.
- It can be green or black olives, I like the aesthetic and taste that black olives add to the sourdough.
- Make sure they are pitted or if you pit them yourself, to do it very thoroughly. It really is an anti-climax when biting into a beautiful sourdough bread and chip a tooth on an olive pit!
Garlic
Why to roast garlic
When roasting garlic the flavour changes from a crunchy ‘bite’ to a nutty, sweet and rich flavour that are mouthwatering to smell and just divine when you taste it! The texture also changes from firm and crunchy, to soft, creamy and spreadable. It takes any dish you add it to, to a whole new level.
How to roast garlic
There are a few different ways to roast garlic. 1) You can do it on the stovetop, covered in olive oil, simmering for 30-40mins. 2) With a little oil slowly roasting in a closed pan (must be checked often as garlic burns very easily. 3) The method I prefer is to roast it in the oven at 140°C for 40mins, tops cut off and placed cut side down in an oven dish. Pouring olive oil over the top and making sure the bottoms all have a little oil.
Something about Rosemary
To start off, it is completely fine to use dried rosemary from the grocery store. But if you really want to let your bread shine, either buy fresh rosemary or go the extra step and grow your own rosemary. You might just make so much Sourdough Olive, Roasted Garlic and Rosemary Bread that it makes more sense to have your own! I have actually stunt my (2!) rosemary bushes’ growth because I was harvesting too much from them. (Oops!)
I must warn you. Once you’ve used fresh rosemary in your bread, you will never want to go back to dried herbs. When I (have to) use dried herbs for my sourdough now, it tastes like dirt!
Besides. Who can argue with this colour vibrancy? Just absolutely beautiful.
Divine serving suggestions for Sourdough Olive, Roasted Garlic and Rosemary Bread
- You can have your Sourdough Olive, Roasted Garlic and Rosemary Bread at the most prestine of meals and it will not disappoint, but might just steel the show from the ‘star’ dish!
- As a meal by itself with grass-fed butter and a fried egg on top.
- As a toasted sandwich with pulled pork, wild rocket and a sweet honey mustard spread.
- Just simply ‘paint’ a slice with a good quality olive oil, roast it till nice and crisp and top with a drizzle more olive oil. Beautiful on its own or
- Add your favourite fresh greens, tomato and salt to taste. YUM!
Ingredients For Sourdough Olive, Roasted Garlic and Rosemary Bread
365g Water
560g Unbleached White Bread Flour
50g Active Sourdough Starter
10g Non-iodised Salt
25g Melted Coconut oil
INCLUSIONS
65g Pitted black olives
1 Whole roasted garlic
2 sprigs Rosemary
Instructions For Sourdough Olive, Roasted Garlic and Rosemary Bread
- Mix water and flour until no dry flour is visible.
- Cover and let sit for 20min to 2 hours.
- Add sourdough starter, salt and oil and mix until no more oil is visible.
- Mark side of container at dough level with a wet erase marker or tape.
- Let rest for 15min and do 1 stretch and fold.
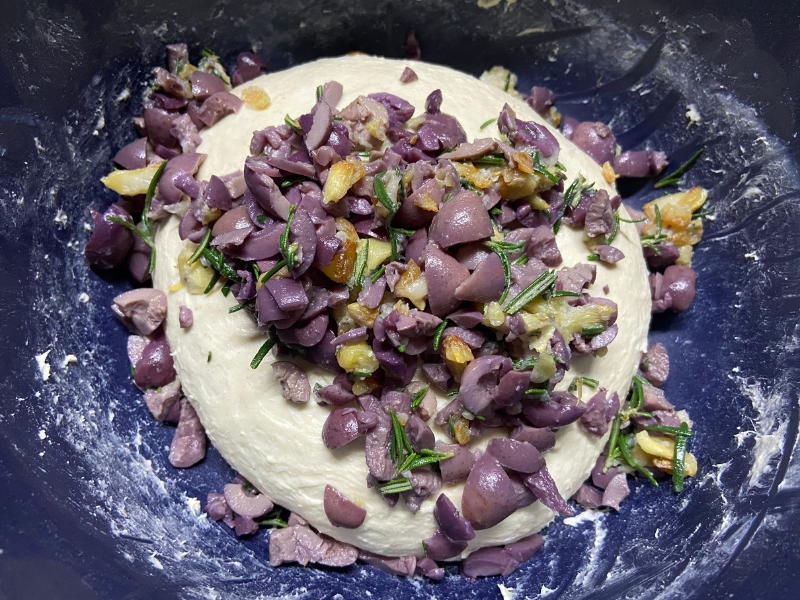
- Wait 15 min, add prepared inclusions and do 2nd stretch and fold.
- Do 3 coil folds 30min apart.
- Cover and let rise until 30-50% risen.
- Divide if necessary and/or pre-shape.
- Let rest for 10min and prepare proofing bowl with cloth and dusted well with rice flour.
- Final shape, make sure to not use too much flour as this will make it difficult to achieve good tention in the dough.
- Put dough seam-side up in your proofing bowl and put in fridge for over night.
- The next day. Preheat oven to 265°C, if using a dutch oven, also heat the dutch oven, around 45-60min.
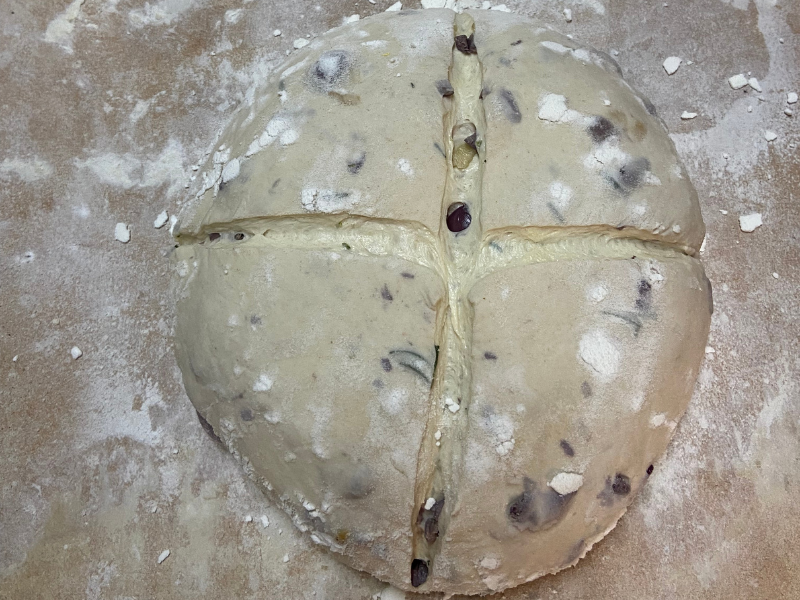
- Once oven and dutch oven is at the correct temperature, remove dough from the fridge and place seam-side down on a piece of baking paper. Score dough with functional score and decorative scoring of you choose.
- Place very carefully into the dutch oven and into the oven.
- Bake for 30min with a closed lid then open the dutch oven lid and bake another 10-15min until desired golden brown colour.
- For absolute best experience, wait at least 1 hour or until fully cooled before slicing.
Printable Recipe For Sourdough Olive, Roasted Garlic and Rosemary Bread
Sourdough Olive, Roasted Garlic and Rosemary Bread
Ingredients
- 365g Water
- 560g Unbleached White Bread Flour
- 50g Active Sourdough Starter
- 10g Non-iodised Salt
- 25g Melted Coconut oil
- INCLUSIONS
- 65g Pitted black olives
- 1 Whole roasted garlic
- 2 sprigs Rosemary
Instructions
- Mix water and flour until no dry flour is visible.
- Cover and let sit for 20min to 2 hours.
- Add sourdough starter, salt and oil and mix until no more oil is visible.
- Mark side of container at dough level with a wet erase marker or tape.
- Let rest for 15min and do 1 stretch and fold.
- Wait 15 min, add cheese and do 2nd stretch and fold.
- Do 3 coil folds 30min apart.
- Cover and let rise until 30-50% risen.
- Divide if necessary and/or pre-shape.
- Let rest for 10min and prepare proofing bowl with cloth and dusted well with rice flour.
- Final shape, make sure to not use too much flour as this will make it difficult to achieve good tention in the dough.
- Put dough seam-side up in your proofing bowl and put in fridge for over night.
- The next day. Preheat oven to 265°C, if using a dutch oven, also heat the dutch oven, around 45-60min.
- Once oven and dutch oven is at the correct temperature, remove dough from the fridge and place seam-side down on a piece of baking paper. Score dough with functional score and decorative scoring of you choose.
- Place very carefully into the dutch oven and into the oven.
- Bake for 30min with a closed lid then open the dutch oven lid and bake another 10-15min until desired golden brown colour.
- For absolute best experience, wait at least 1 hour or until fully cooled before slicing.
My favourite Sourdough gadgets
Cast iron dutch oven

Sourdough kit
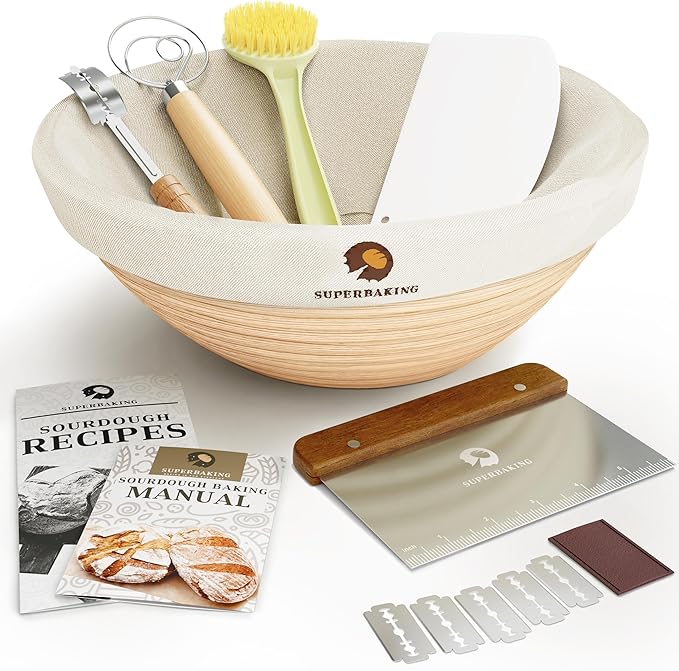
Kitchen scale

Infra-red thermometer
More Sourdough Recipes To Look At
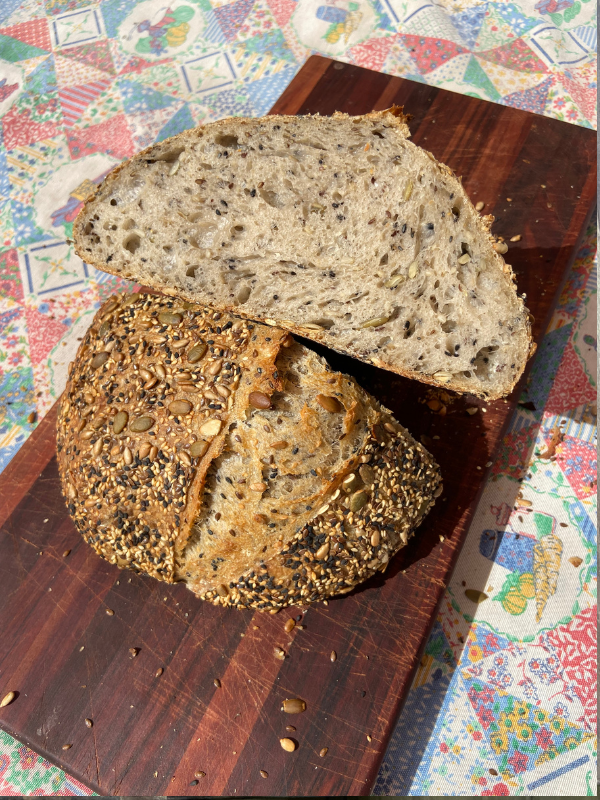
- Multi Seed Sourdough Bread
- Easy Everyday Sourdough Bread – With A Secret
- Cheesy Cheddar Sourdough Bread
- Sourdough Chocolate Bread With Pecans
- Sweet Sourdough Dinner Rolls or “Boerebeskuit”
- Healthy Sourdough Chocolate Chip Cookies with Oats and Coconut
- How To Open Bake Sourdough Bread
One Response