This post contains affiliate links, which means I make a small commission at no extra cost to you. See my full disclosure here.
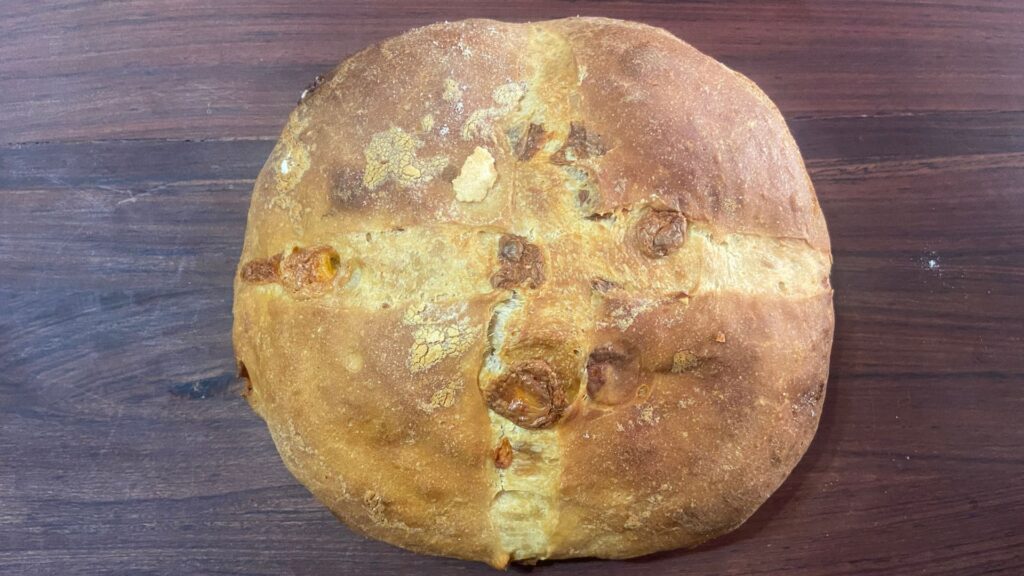
I have never thought that toasted Sourdough Bread and Cheddar Cheese could get more perfect than that. Only to find out one day that I can add the cheese to the dough and bake the bread with cheese inside! So prepare yourself to be amazed, this Cheesy Cheddar Sourdough Bread will not disappoint, just give it a try!
12 Facts and Tricks about Sourdough and bread baking
- Wild yeast and good bacteria works together to form a leavening agent. It also consumes proteins and starches while excreting carbon dioxide.
- Some of the yeast present in your sourdough starter comes from your hands. This is not a bad thing. It actually results in every starter being truly unique to you and your home.
- Sourdough is lower GI than conventional leavened bread.
- Lactic acid causes the sour taste.
- Temperature is everything. The ideal temperature for dough at any stage is 28°C (82°F). The usual recipes and times are based on this temperature. If your home temperature is higher or lower, it will effect the dough drastically. When trying to let the dough rise and the temperature drop to 20°C (68°F) or lower, your dough will practically come to a standstill.
- Ways you can control temperature in your home:
1) Aircon.
2) Use either warm water (up to 60°C) or cold water, depending on the requirement. - Humidity also can make the dough rise slower or faster.
- Altitude also effect the way sourdough starter and dough behaves.
- Wet your hands when stretching and folding or coil folding. This will help the dough to not stick to your hands.
- Salt has more than one important property in Sourdough bread and bread baking.
- Salt gives flavour beyond what most people expect.
- Sourdough bread is naturally preserved with salt and lactic acid.
- Salt helps to build a stronger gluten network.
- Salt slows dough fermentation.
- Sourdough Starter does not die easily.
- Toss your Sourdough Starter when:
- There are visible, fuzzy green mould on top.
- You can see pink or orange bacteria growing.
What is so special about Cheesy Cheddar Sourdough Bread?
As I experimented with sourdough over the years, word got out and people started ordering from me. As did some coffee shops. Which absolutely amazed me because I was still in the process of perfecting my Sourdough bread process. But people WANTED it. So a request came in for specifically Cheddar Sourdough, which at that point I have never made. I thought, that is odd, you can just add cheese to a normal white sourdough slice of bread and toast it. Why would you want to go through all the trouble of adding it to the dough before baking?
So I had to try it, of course, and my, was I surprised! It must be something very scientific that happens, I am sure of it, when baking Sourdough Bread with the Cheddar Cheese in it! The way that the cheese melts and become part of the bread, and the way it bakes onto the crust on the outside, all just proves why this is such a highly requested speciality bread.
Since then, when I have attended market days with a few Sourdough loafs, the Cheesy Cheddar ones were some of the first loaves to disappear from the shelf!
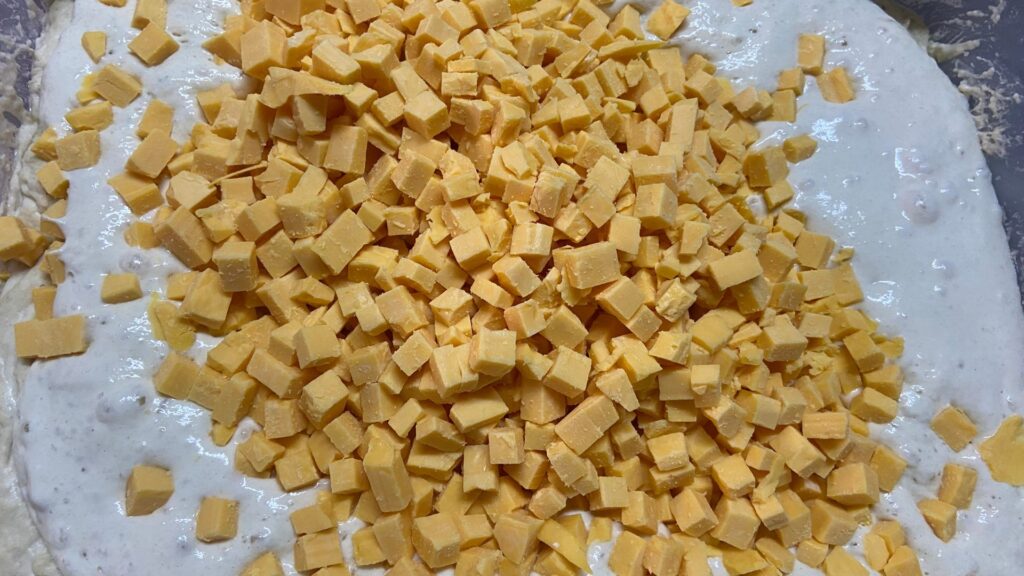
Why cubed Cheddar Cheese and not shredded?
Good question.
So this does come down to personal preference.
When using shredded Cheese, it will become part of the dough and final bread at the end of baking. Taste and texture will not be that much different in my opinion than that of an ordinary White Sourdough Bread.
But. When using cubed Cheddar Cheese you get melted chunks of delightful cheese that gives you different tastes and textures throughout each bite. Not to even talk about the crunchy crust with crispy toasted cheese on top.
When to add the cheddar cheese during mixing process.
1) With second mix, just add cheese and mix with everything else into the dough, this might seem to tear the dough and gluten might take a little extra time to develop, but in my experience it still comes together at the end, or
2) With 3 or 4 Stretch and fold. Just add cheese and carefully continue with stretch and fold, or
3) With the very last time to stretch the dough you can laminate the inclusions into the dough. Wet your counter top and place the dough on the counter. Wet your hands and gently start stretching the dough as thin as possible without tearing. When you can almost see through the dough you can sprinkle your cheese evenly on top. Fold 1/3 from left to right. Fold right over left. Roll dough from top to bottom, and the cheese will be perfectly distributed.
Tools recommended when baking Sourdough Bread
Tools are always nice to have and sometimes makes a process easier, but you can definitely make Sourdough Bread without any of these tools. I will explain below why I recommend these tools that I use every time I bake.
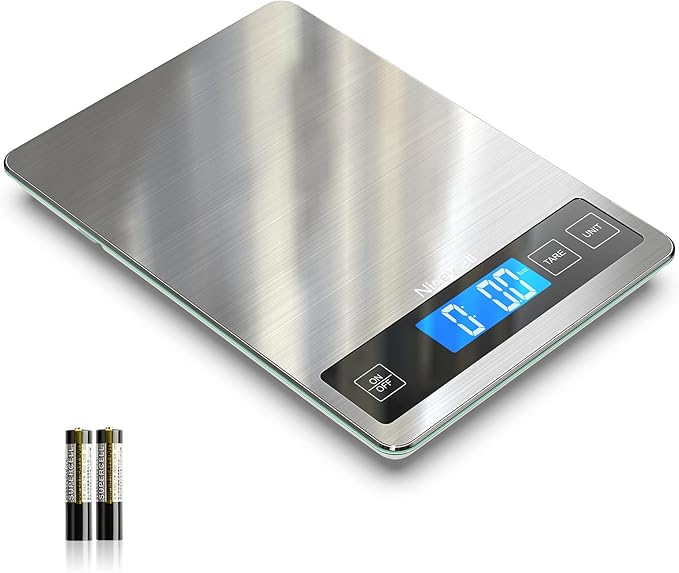
- Kitchen scale. To get a consistent outcome with your baking a proper scale is one of the first and most important tools to start with. When using cups and millilitres to measure, there are too many variables that can have an effect on your outcome.
- See-through bowls with straight sides. One of the ways to measure if your dough has risen is to see how much volume it consists of compared to what you have started with. A see-through bowl with straight sides works perfectly when marked with a wet erase marker at the dough level just after mixing and marking the spot where you want to stop bulk rise.
- Thermometer to measure water temperature and dough temperature. To cut out a lot of frustration and questions during the loooong process of Sourdough Bread baking, using a good instant read thermometer will give you an idea of why your dough is sluggish and take longer than the expected time to rise. Using an oven surface thermometer will help a lot with a variable few people know about. Your oven temperature is rarely accurate.
- Room thermometer. (I bought from Takealot in South Africa, but these are widely available)
- Instant read thermometer.(I bought from Takealot in South Africa, but these are widely available)
- Oven surface thermometer. (I bought from Takealot in South Africa, but these are widely available)
- Plastic dough scraper. I prefer to stay away from plastic as much as possible, but for a dough scraper I have found that the bending ability of a plastic scraper helps so much when working with the dough. Whether you are scraping out the dough from the bowl, or dividing it and shaping it on the table. It will also be much gentler on your kitchen counter than a metal one. (I bought from Takealot in South Africa, but these are widely available)
- Rice flour. Rice flour, rice flour, rice flour. The best solution to dough sticking to your cloths after cold retard! I have tried normal flour, corn flour, semolina. Nothing works like rice flour to not stick, because it does not get absorbed by the dough. It stays on the surface and creates a barrier between the dough and the cloth.
Ingredients of Cheesy Cheddar Sourdough Bread
328g Water
463g Unbleached Stoneground White Bread Flour
100g Active Sourdough Starter
10g Salt
25g Unflavoured oil like Coconut Oil
128g Cubed Cheddar Cheese
Process of Cheesy Cheddar Sourdough Bread
Mix flour and water to autolyse for 20min – 2 hours.
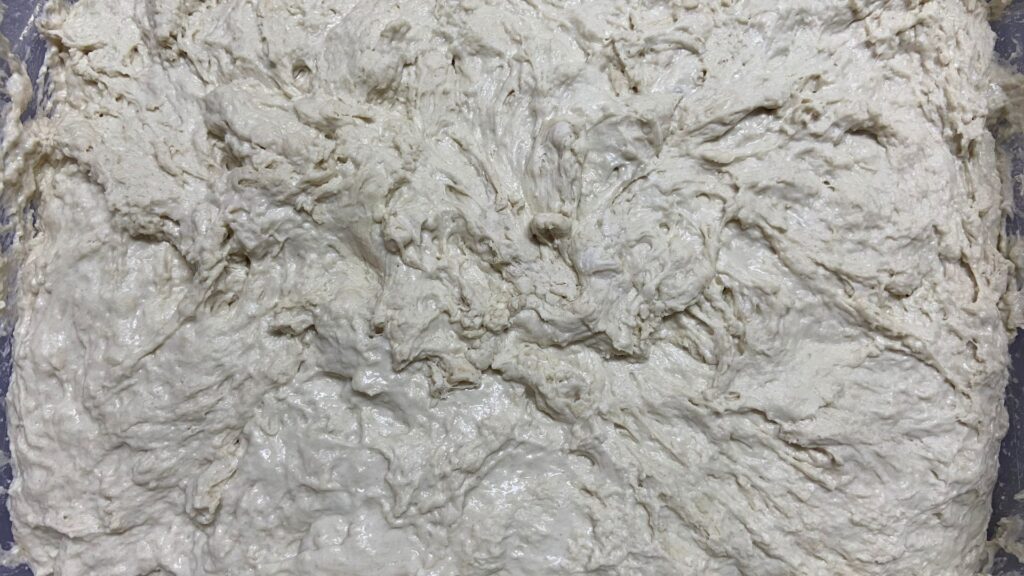
Add all the rest of the ingredients including the cubed cheese and mix until no more oil is visible.
Wait 15min and do Stretch and fold 1.
After 15min do Stretch and fold 2.
Wait 15min and do Stretch and fold 3.
After 30min do Coil fold 1.
Wait 30min and do the last Coil fold.

Let the dough rest until clearly risen and bubbles visible on top and on the sides, it can take 2 – 8 hours depending on type of dough and day temperature.
Divide and pre-shape on a clean counter using a bench scraper, using flour not to stick to your hands.
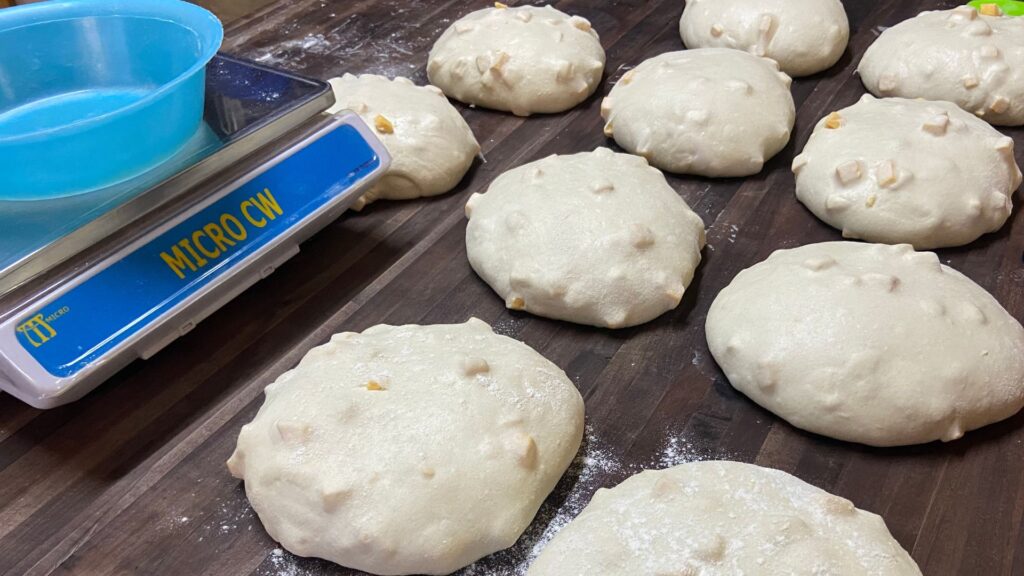
After about 10min do final shaping and place upside down into a bowl lined with cloth and dusted with rice flour. Place in fridge for cold retard.
Next day, preheat the oven and dutch oven to 250°C (480°F). About 45min.
Turn dough out onto baking paper and score.
Place carefully into hot dutch oven close the lid and bake for 30min.
Remove lid and you can carefully check the bottom of the bread to check if it is not burning.
Cheese tend to burn very easily. If it still looks fine you can place it back into the dutch oven and bake for another 10min or until the perfect golden crispiness you desire.
If the bottom starts to get very dark after the first 30min, remove the bread from the dutch oven and bake the last 10min open on the oven rack.
Enjoy!
Variations of inclusions for Sourdough Bread
- Chocolate Sourdough Bread With Pecans
- Sourdough Olive and Roasted Garlic Bread
- Sourdough Jalapeno and Cheddar Bread
- Sourdough Cranberry and Pecan Bread
Cheesy Cheddar Sourdough Bread

I have never thought that toasted Sourdough Bread and Cheddar Cheese could get more perfected then that. Only to find out one day that I can add the cheese to the dough and bake the bread with cheese inside! So prepare yourself to be amazed, this Cheesy Cheddar Sourdough Bread will not disappoint, just give it a try!
Ingredients
- 328g Water
- 463g Unbleached Stoneground White Bread Flour
- 100g Active Sourdough Starter
- 10g Salt
- 25g Unflavoured oil like Coconut Oil
- 128g Cubed Cheddar Cheese
Instructions
- Mix flour and water to autolyse for 20min - 2 hours.
- Add all the rest of the ingredients including the cubed cheese and mix until no more oil is visible.
- Wait 15min and do Stretch and fold 1.
- After 15min do Stretch and fold 2.
- Wait 15min and do Stretch and fold 3.
- After 30min do Coil fold 1.
- Wait 30min and do the last Coil fold.
- Let the dough rest until clearly risen and bubbles visible on top and on the sides, it can take 2 - 8 hours depending on type of dough and day temperature.
- Divide and pre-shape on a clean counter using a bench scraper, using flour not to stick to your hands.
- After about 10min do final shaping and place upside down into a bowl lined with cloth and dusted with rice flour.
- Place in fridge for cold retard.
- Next day, preheat the oven and dutch oven to 250°C (480°F). About 45min.
- Turn dough out onto baking paper and score.
- Place carefully into hot dutch oven close the lid and bake for 30min.
- Remove lid and you can carefully check the bottom of the bread to check if it is not burning. Cheese tend to burn very easily. If it still looks fine you can place it back into the dutch oven and bake for another 10min or until the perfect golden crispiness you desire. If the bottom starts to get very dark after the first 30min, remove the bread from the dutch oven and bake the last 10min open on the oven rack.
- Enjoy!
My favourite Sourdough gadgets
Cast iron dutch oven

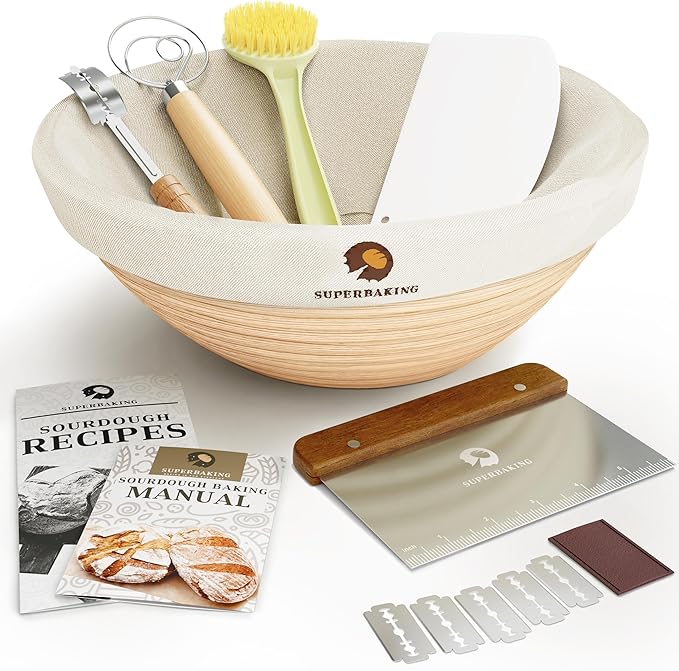
Sourdough kit
Kitchen scale
11 Responses